EN
EN  ES
ES  RU
RU  AR
AR Comprehensive Installation Procedure and Key Construction Points for Replacing Old Roofs with Synthetic Resin Tiles
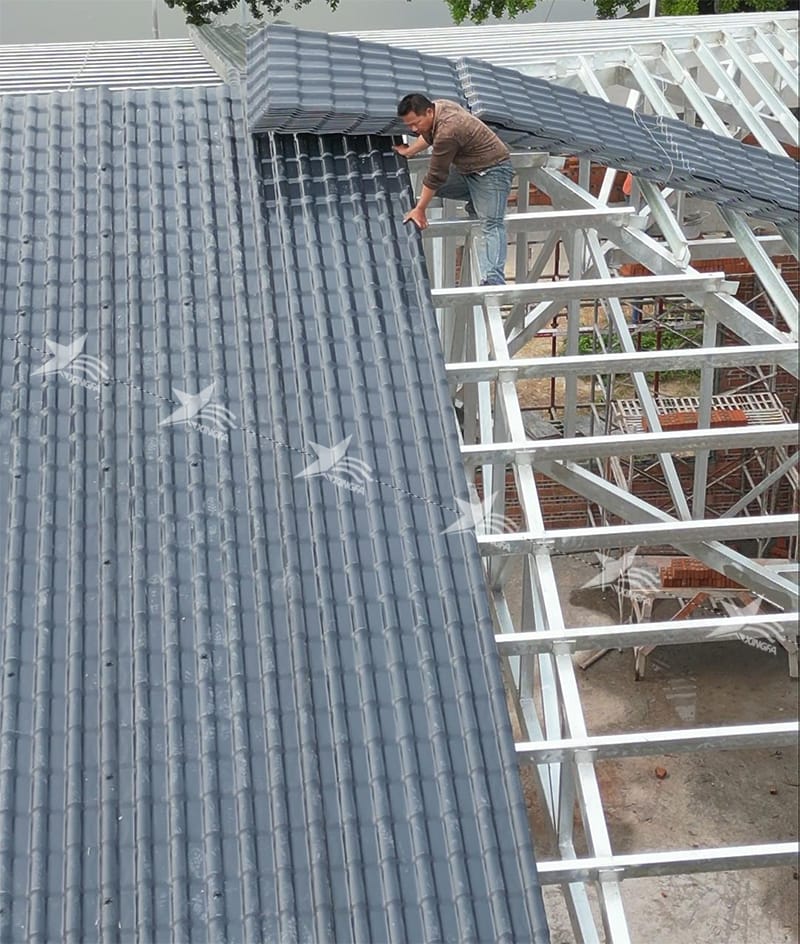
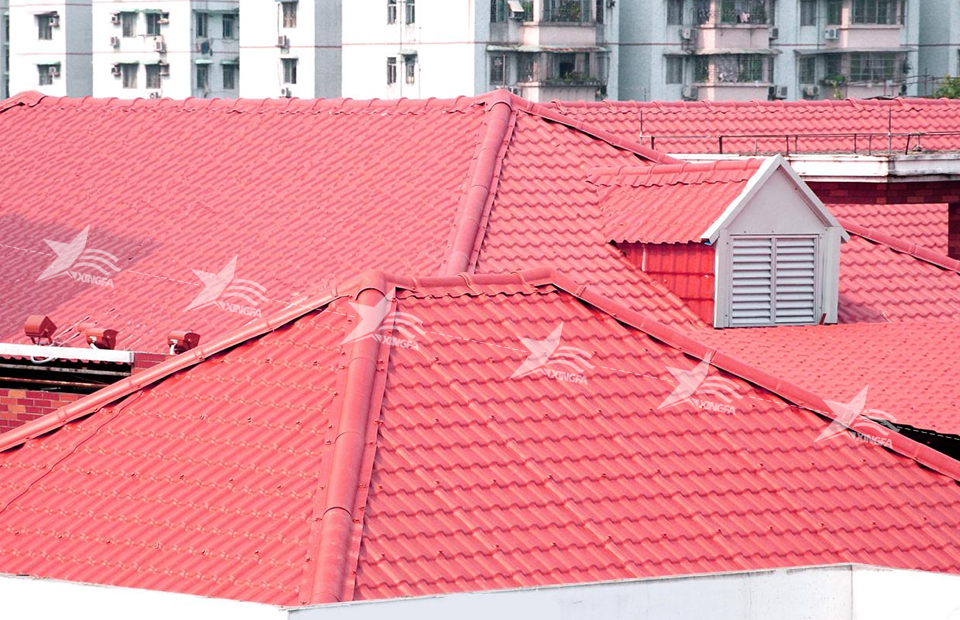
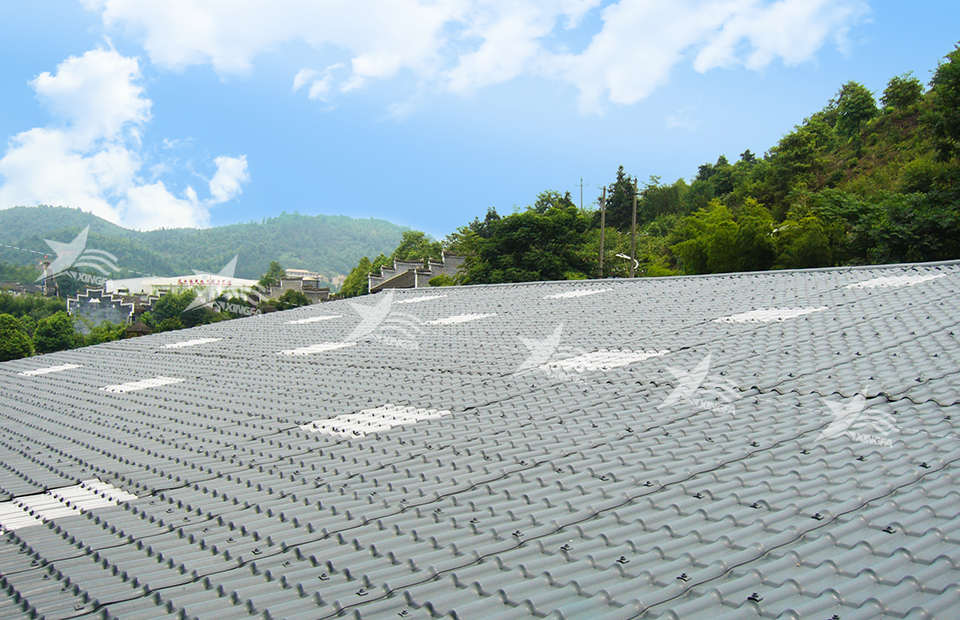
When aging industrial buildings, residential houses, or warehouses exhibit roof deterioration—such as water leakage, broken tiles, or rusted color-coated steel sheets—replacing the existing roofing with synthetic resin tiles represents the most cost-effective and technically mature renovation solution currently available. Unlike new construction on bare roof substrates, retrofitting an old roof requires a targeted approach that accounts for the existing roof substrate, purlin structure, and pre-existing waterproofing vulnerabilities. Direct installation of new tiles without proper preparatory work often leads to post-installation issues, including water infiltration, buckling, and inadequate fastening. This document details the standardized installation process and critical technical requirements for replacing old roofs with synthetic resin tiles, covering all phases: pre-construction preparation, substrate cleaning of the existing roof, structural reinforcement, waterproofing treatment, main tile installation, accessory detailing and termination, and final inspection and maintenance.
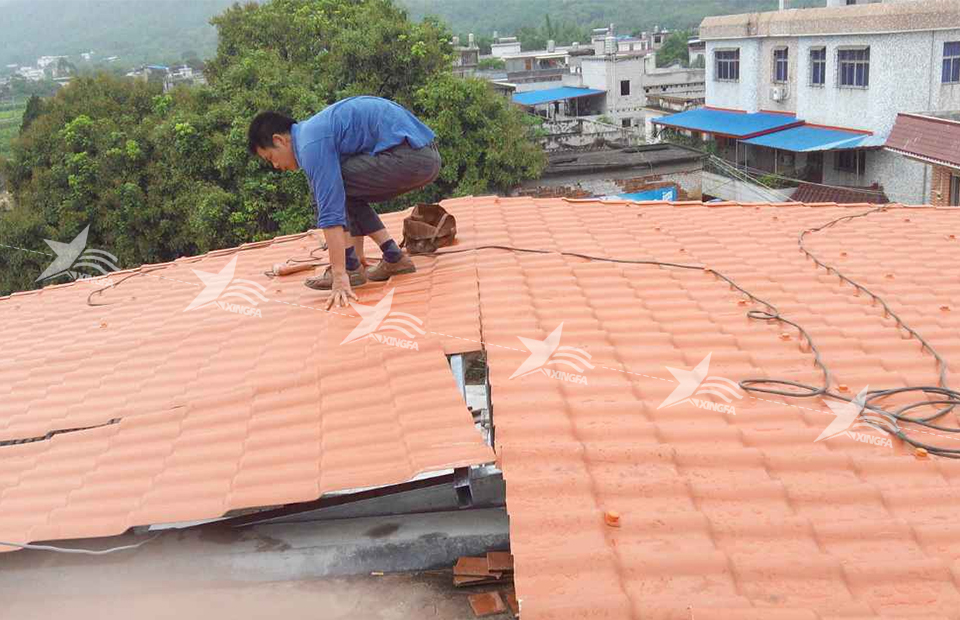
1. Pre-Construction Survey and Preparation of Materials and Tools
(A) On-Site Roof Survey and Assessment
Prior to commencing renovation works, a comprehensive survey of the existing roof must be conducted to assess whether the underlying structure is suitable for tile installation. Particular attention shall be paid to the integrity of purlins, steel framing members, and timber battens—checking for signs of decay, deformation, looseness, corrosion, or fracture. Roof pitch and purlin spacing must also be measured to verify compliance with synthetic resin tile installation specifications; standard purlin spacing shall be maintained within 600–750 mm. All pre-existing leak locations and low-lying areas prone to ponding shall be identified and clearly marked to inform subsequent waterproofing and reinforcement measures—thereby preventing residual defects after renovation.
(B) Procurement and Preparation of Materials and Tools
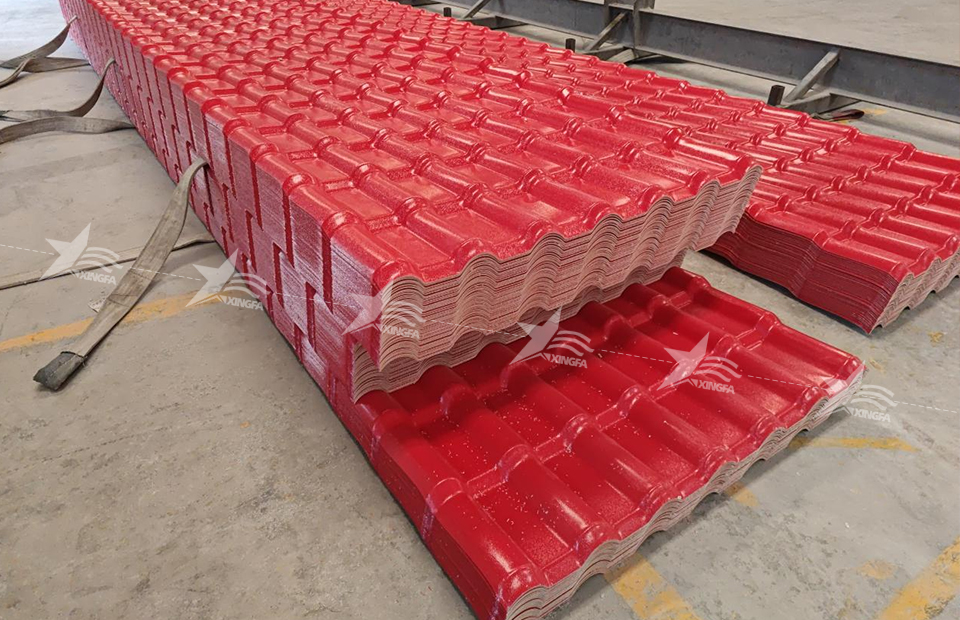
Based on the total roof area, newly manufactured ASA synthetic resin tiles and all required accessories—including ridge caps, hip caps, eave closure boards, waterproof rubber washers, specialized self-tapping screws, and waterproof sealant—shall be procured. Preference shall be given to virgin-material, weather-resistant resin tiles certified for long-term outdoor exposure. Essential tools—including angle grinders, cordless drills, tape measures, spirit levels, safety harnesses, and cleaning equipment—must be assembled in advance. All materials shall undergo quality inspection prior to use to exclude defective, warped, or damaged tiles; all tools shall be calibrated and tested to ensure operational reliability and support efficient, uninterrupted execution.
2. Removal of Existing Roofing and Substrate Cleaning
(A) Demolition of Aged Roofing Components
All deteriorated roofing elements—including broken tiles, aged color-coated steel sheets, failed waterproof membranes, and degraded insulation layers—shall be systematically removed. Demolition shall proceed from top to bottom and from eaves toward the ridge, strictly avoiding forceful or destructive methods that may compromise intact purlins or load-bearing structures. Demolished debris shall be promptly cleared from the roof surface to prevent excessive live loads, which could induce structural deformation or collapse. Where localized structural components remain sound, they may be retained as part of the supporting substrate to optimize cost efficiency.
(B) Thorough Substrate Cleaning and Decontamination
After demolition, the entire roof substrate shall be meticulously cleaned to remove dust, silt, moss, algae, and residual aged adhesives or coatings. Leave purlin surfaces clean, dry, and free of protrusions or obstructions. Given the high propensity for biological growth (e.g., moss) and corrosive deposits on aged roofs, complete removal of such contaminants is essential. Inadequate cleaning may result in poor tile adhesion, insecure fastening, and long-term performance issues—including water penetration, delamination, and hollow-sounding areas—all of which adversely affect overall construction quality.
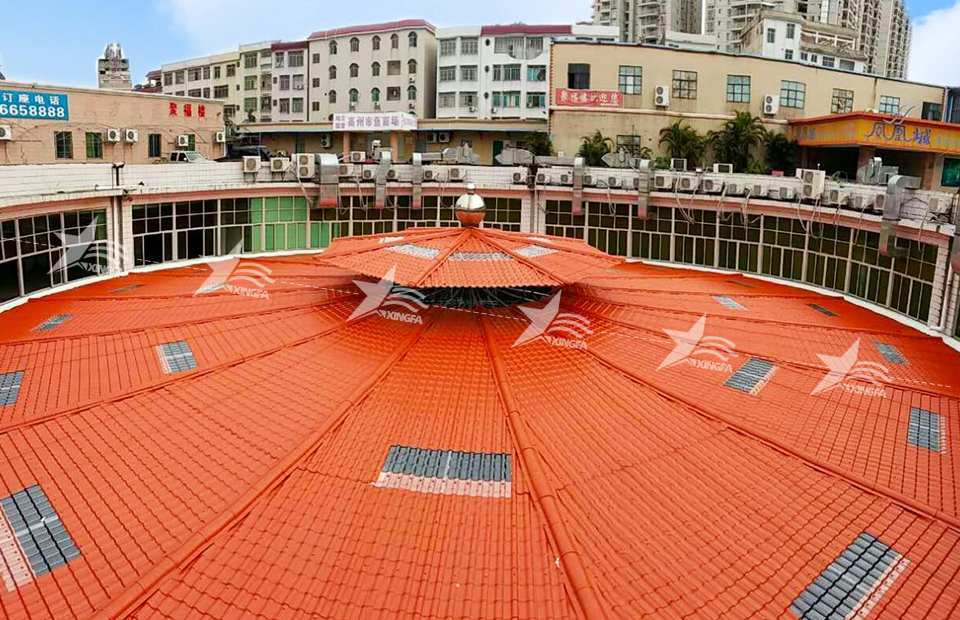
3. Structural Reinforcement and Surface Leveling
(A) Repair and Reinforcement of Damaged Structural Elements
Following substrate cleaning, any loose, corroded, or decayed purlins shall be repaired or reinforced. For steel purlins, thorough rust removal followed by application of corrosion-inhibiting primer and topcoat is mandatory; loose fasteners shall be re-torqued to specification; severely fractured or rotted purlins shall be fully replaced. Timber battens shall undergo preservative and insect-resistant treatment. The objective is to ensure uniform load distribution and structural stability across the entire roof plane—eliminating risks of tile distortion, cracking, or detachment caused by substrate instability. This phase constitutes the most critical concealed work in the entire renovation project.
(B) Overall Roof Surface Leveling
Localized irregularities—including depressions, humps, or significant height differentials—shall be corrected to achieve a smooth, planar roof surface. Excessive elevation variance compromises consistent tile overlap, induces uneven stress distribution, and increases susceptibility to edge curling and leakage under thermal expansion/contraction cycles. Upon leveling, purlin spacing shall be re-verified; auxiliary purlins shall be added where spacing exceeds specification limits to ensure full compliance with synthetic resin tile installation requirements.
4. Pre-Installation Waterproofing Treatment and Underlayment Application
The primary risk in roof retrofits lies in latent water pathways inherited from the original roof assembly. Therefore, proactive waterproofing pre-treatment is indispensable. Waterproof membranes or high-performance, UV-stable waterproof sealants shall be applied at all vulnerable zones—including joints, internal/external corners, ridges, eaves, and previously documented leak points—to fully seal potential gaps and breaches. Where site conditions permit, a continuous, full-roof waterproof underlayment may be installed to establish a dual-layer waterproofing system. This step effectively eliminates legacy leakage risks and prevents hidden water ingress beneath newly installed tiles—significantly extending the service life and reliability of the renovated roof.
5. Standard Installation Procedure for Synthetic Resin Tiles
(A) Layout Marking and Tile Cutting
Reference lines shall be accurately snapped onto the substrate according to roof dimensions to ensure precise, orthogonal tile alignment and uniform pattern layout. Tiles shall be cut to exact fit at roof perimeters, terminations, and complex intersections. All cut edges shall be deburred and smoothed to eliminate sharp edges that could damage tile surfaces or compromise the weather-resistant coating—thus preventing moisture absorption, premature aging, and crack initiation at cut interfaces.
(B) Main Tile Fixing and Laying
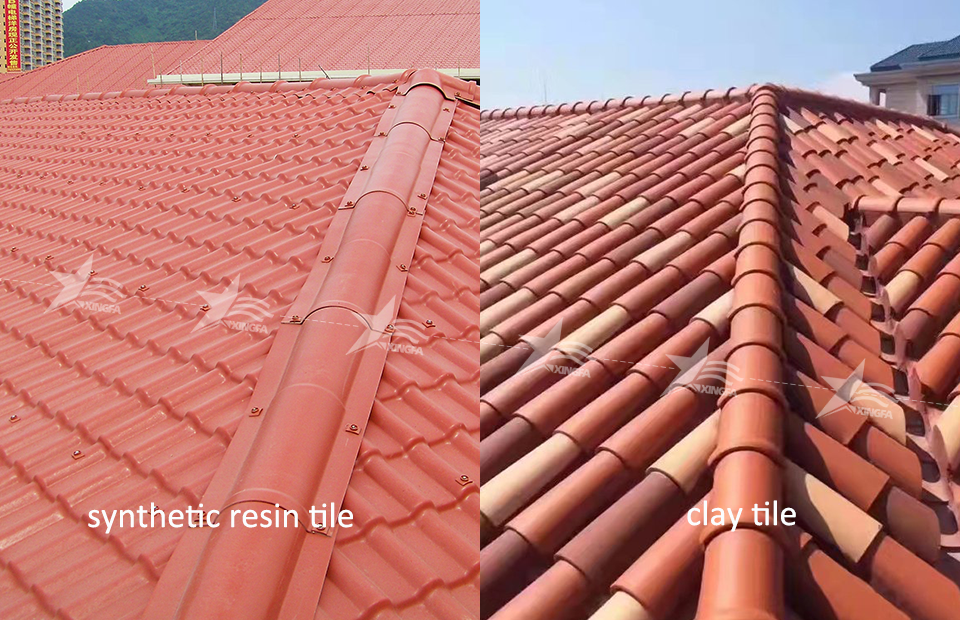
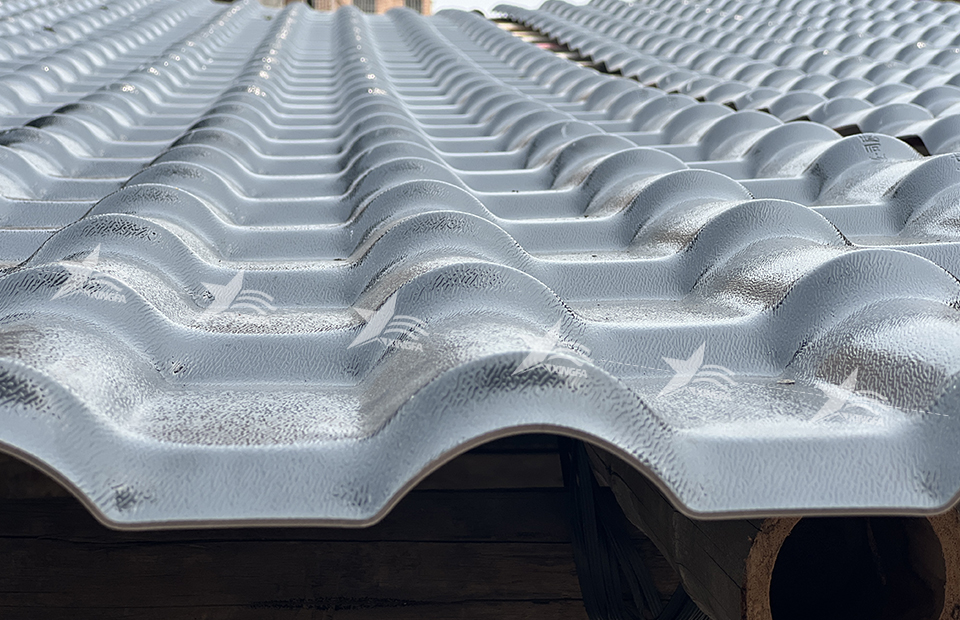
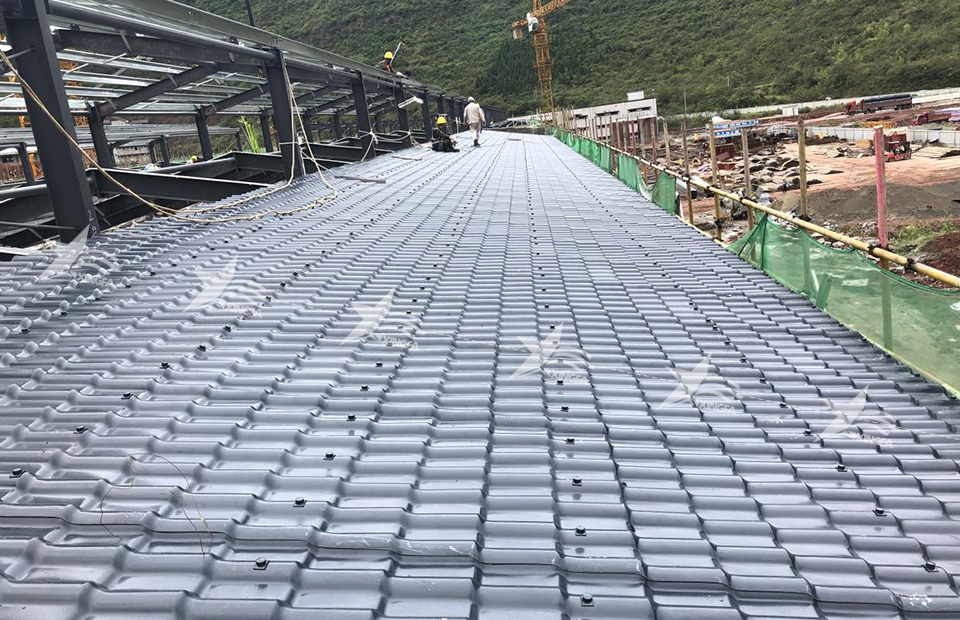
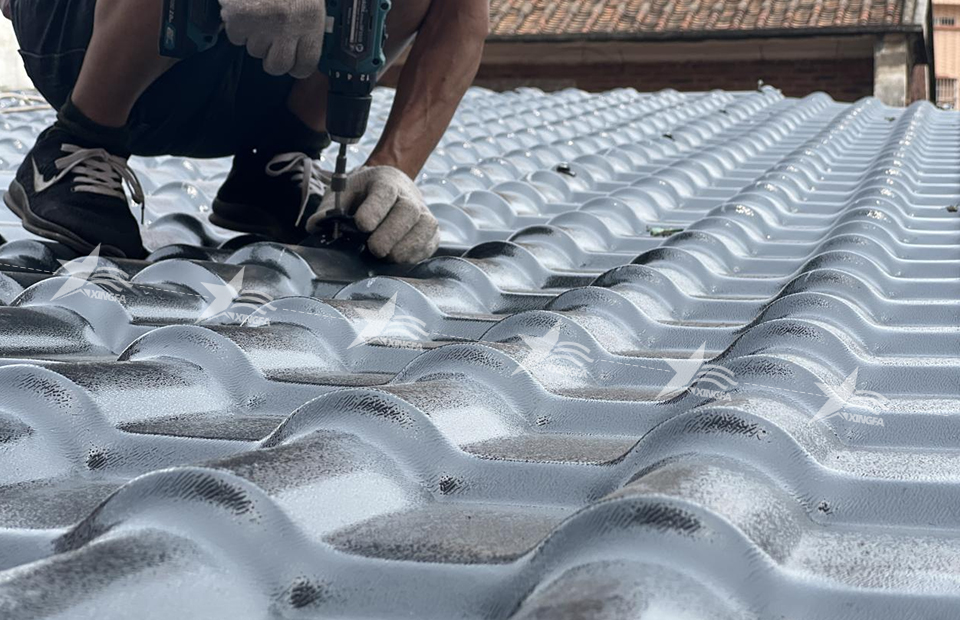
Tile installation shall follow the principle of “eaves-to-ridge, bottom-up, wind-directional lapping.” Horizontal lap shall cover one full wave crest; vertical lap length shall be maintained between 150–200 mm—with increased overlap recommended in regions subject to heavy rainfall or strong winds. Fastening shall be performed exclusively using specialized self-tapping screws fitted with integrated waterproof EPDM washers. Screws must be driven only into the wave crests—not into valleys, where water accumulation may occur. Screw torque shall be carefully controlled: sufficient to secure the tile without over-compression, thereby accommodating thermal expansion/contraction while preventing tile fracture (if overtightened) or loosening and leakage (if under-tightened).
6. Accessory Detailing, Sealing, and Final Inspection & Acceptance
(A) Installation and Sealing of Accessories
After main tile installation, all complementary accessories—including ridge caps, hip caps, perimeter closure tiles, and drip-edge flashings—shall be installed sequentially. All abutments, overlaps, and screw penetrations shall be uniformly sealed with high-adhesion, UV-resistant, flexible waterproof sealant to block micro-paths for water intrusion. Critical junctions—such as ridges and roof-plane transitions—shall receive enhanced sealing treatment to prevent rainwater backflow and capillary seepage.
(B) Comprehensive Inspection, Defect Rectification, and Site Clearance
Upon completion, a full visual and tactile inspection shall be conducted to verify roof flatness, lap consistency, fastener integrity, and sealant continuity—identifying and rectifying any hollow-sounding areas, loose components, or inadequately sealed zones. All construction waste, packaging materials, and debris shall be removed to leave the roof surface clean and orderly. Following handover, the roof shall enter a designated curing period: heavy impact, foot traffic, or mechanical loading shall be strictly prohibited during this phase to allow full consolidation of fastener grip and complete polymerization of sealants—ensuring long-term watertightness, structural stability, and enduring weather resistance of the renovated roof system.