ES
ES  EN
EN  RU
RU  AR
AR UPVC Roofing Tile Cleaning and Maintenance Tips
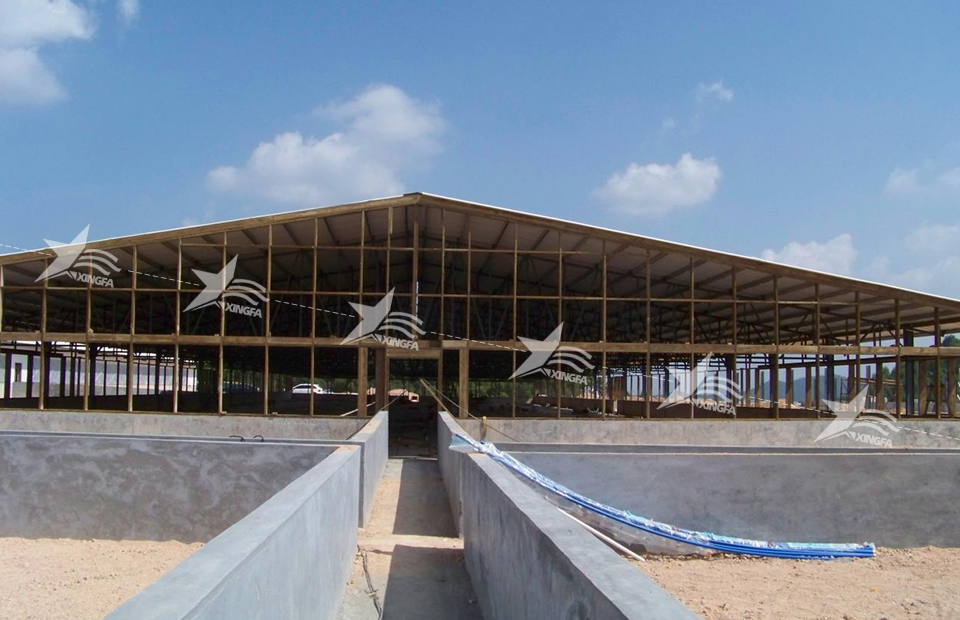
UPVC roofing tiles offer excellent resistance to acids and alkalis, low self-weight, and superior waterproofing performance. As a result, they are often mistakenly perceived as “install-and-forget” maintenance-free materials. In reality, while UPVC tiles require less frequent and less labor-intensive maintenance than many alternatives, they are not maintenance-free. Scientific, proactive cleaning and care significantly delay aging and extend service life. Conversely, improper cleaning practices—such as using abrasive brushes, strong alkaline cleaners, or stepping directly on the tile surface—can cause surface scratches within minutes, accelerating color fading and embrittlement. The correct philosophy is “regular prevention,” not “reactive major repair after damage occurs.” This article presents a practical, step-by-step maintenance protocol, structured across six key dimensions: cleaning timing, pre-cleaning preparation, cleaning methodology, stain-specific treatment, routine maintenance, and common misconceptions.
1. Cleaning Timing and Frequency
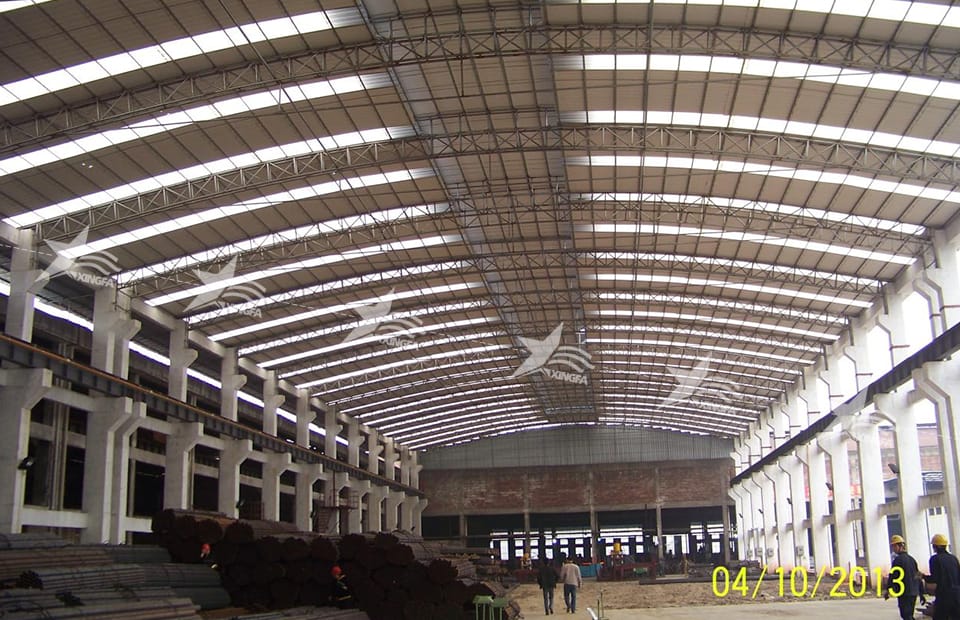
Cleaning frequency should be determined by environmental conditions—not applied rigidly. For standard industrial buildings and residential rooftops in areas with relatively low air pollution and clean rainfall, visual inspection is recommended every six months, with a thorough deep cleaning conducted prior to the annual rainy season. In high-corrosion environments—such as farms, livestock facilities, and chemical processing workshops—where airborne ammonia, acidic or alkaline mists, and aggressive particulate deposits are prevalent, inspection intervals should be shortened to every three months, and deep cleaning performed biannually. In windy, sandy regions, special attention must be paid to sand accumulation in tile troughs and to checking for surface abrasions. Under no circumstances should personnel access the roof during rain or when the surface is wet and slippery; all cleaning work must be scheduled during extended dry periods when the surface is fully dry.
2. Pre-Cleaning Preparation and Safety
Safety is paramount for any elevated work. Personnel must wear slip-resistant footwear and secure full-body safety harnesses. Only stable scaffolding or certified ladders should be used; solo rooftop access without proper supervision and fall protection is strictly prohibited. When walking on the roof, personnel must step exclusively on the valley (trough) positions aligned with underlying purlins—never on the crest (peak) of the wave profile. UPVC panels have limited impact resistance; stepping on crests risks cracking or permanent deformation. Prior to wet cleaning, remove large debris—including leaves, twigs, silt, and animal excrement—with a long-handled soft brush or broom to prevent surface scratching during subsequent rinsing. Prepare low-pressure water nozzles, soft-bristle brushes, neutral pH cleaning agents, and lint-free soft cloths. High-pressure water jets must never be directed at panel lap joints or seams.
3. Correct Cleaning Methodology and Procedure
The standard cleaning process comprises four sequential steps:
- Rinse the surface from top to bottom using low-pressure clean water to remove loose dust and superficial contaminants;
- Gently scrub the surface with a soft-bristle brush dampened with clean water; for stubborn soiling, apply a neutral cleaning agent sparingly and evenly;
- Thoroughly rinse away all cleaning residue with clean water;
- Allow the surface to air-dry naturally.
Under no circumstances should steel wool pads, rigid scrapers, or strongly acidic or alkaline solvents be used—these will abrade the UV-stabilized protective layer, creating entry points for ultraviolet degradation. Localized oil stains may be treated with a neutral degreaser applied via soft cloth, but application must avoid lap joints to prevent seepage into internal layers. Upon completion, all tools and equipment must be removed from the roof to eliminate the risk of accidental surface damage from residual hard objects.
4. Targeted Treatment of Stubborn Stains
Stain removal strategies must be tailored to the contaminant type:
– Ordinary dust and mud deposits can be fully removed with clean water and a soft brush—no chemical agents required.
– Bird droppings, algae, moss, and mold should first be softened by applying a diluted neutral cleaner; then gently wiped or brushed with a soft cloth or brush and immediately rinsed clean. Dry brushing or forceful scraping is strictly prohibited.
– Oil residues and rust stains require localized application of a neutral degreaser, followed by brief dwell time for softening before gentle wiping.
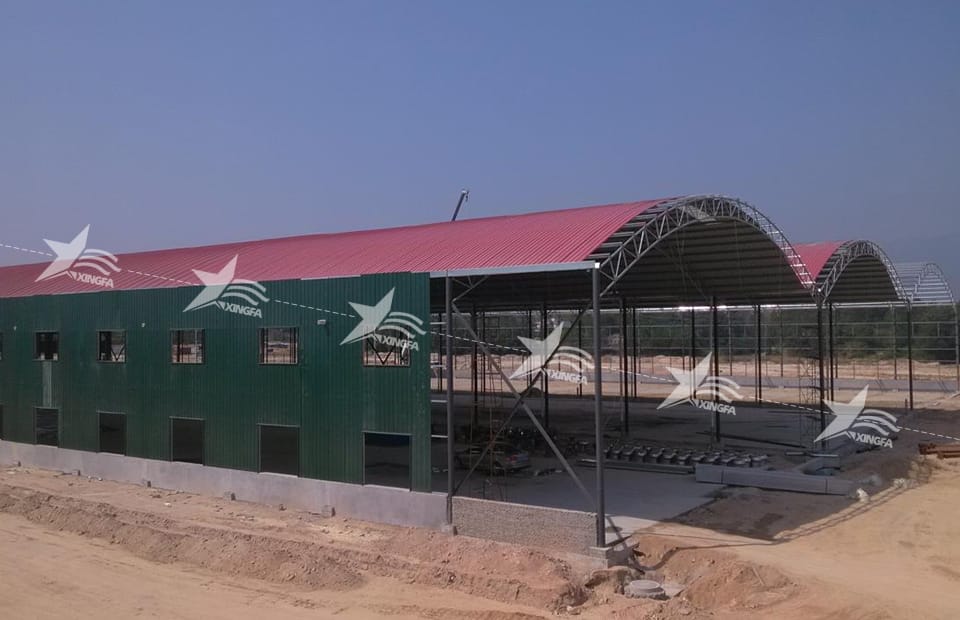
– In agricultural settings, persistent ammonia-induced corrosion deposits should first be softened, then carefully scraped from the surface. If post-treatment inspection reveals surface chalking, apply a UPVC-specific weather-resistant protective coating to restore integrity.
Regardless of stain type, complete rinsing is essential—and lap joints must always be inspected afterward to ensure no residual contaminants remain to cause ongoing degradation.
5. Routine Maintenance and Critical Inspection Points
Beyond periodic cleaning, consistent routine maintenance is vital. Every three to six months, conduct focused inspections of the following three critical areas:
- Self-tapping screws and their integrated waterproof rubber washers: Check for signs of aging, cracking, or detachment. Washer failure is the most common cause of UPVC roof leaks; replace degraded washers promptly and reseal screw heads with high-performance, UV-stable silicone sealant.
- Lap joint sealants: Inspect for cracking or separation. Remove deteriorated sealant completely and reapply fresh, compatible weatherproof sealant.
- Panel surface condition: Monitor for widespread discoloration, visible scratches, or micro-cracks.
Avoid storing highly corrosive materials—such as fertilizers or quicklime—directly on the roof surface. After five years of service, perform a dedicated structural assessment to evaluate panel embrittlement and potential purlin deformation. If localized chalking is observed during assessment, clean the area with low-pressure water and apply a UPVC-specific weather-resistant protective coating to inhibit further degradation. Minor surface scratches may also be mitigated with this coating. However, through-penetrating cracks necessitate replacement of the affected panel only—full roof replacement is unnecessary. Additionally, pay close attention to ridge caps, flashing, and other termination details during each inspection, as these are high-risk zones for leakage.
6. Common Misconceptions and Frequent Errors
Four prevalent maintenance errors must be avoided:
- Using steel wool pads, rigid scrapers, or high-pressure water jets directly on panel surfaces or lap joints—causing irreversible surface abrasion and joint compromise.
- Employing strongly acidic or alkaline cleaning agents, which accelerate chemical degradation and surface chalking.
- Walking on wave crests wearing hard-soled footwear—leading to localized cracking or crushing of the panel profile. Always walk along valleys aligned with purlins.
- Drilling new holes into panels for mounting or anchoring without proper sealing—creating new, uncontrolled leak paths.
Also note: Slight color fading alone does not indicate functional failure; panels remain fully serviceable if structurally intact. What warrants immediate attention are signs of chalking, embrittlement, or cracking—indicators of progressive structural deterioration. Integrating scheduled, science-based maintenance into the roof’s lifecycle management plan is essential to maximize cost-effectiveness and achieve a stable, reliable service life of approximately 20 years.